Creating Detailed Coin Borders: A Guide to Accurate Replication
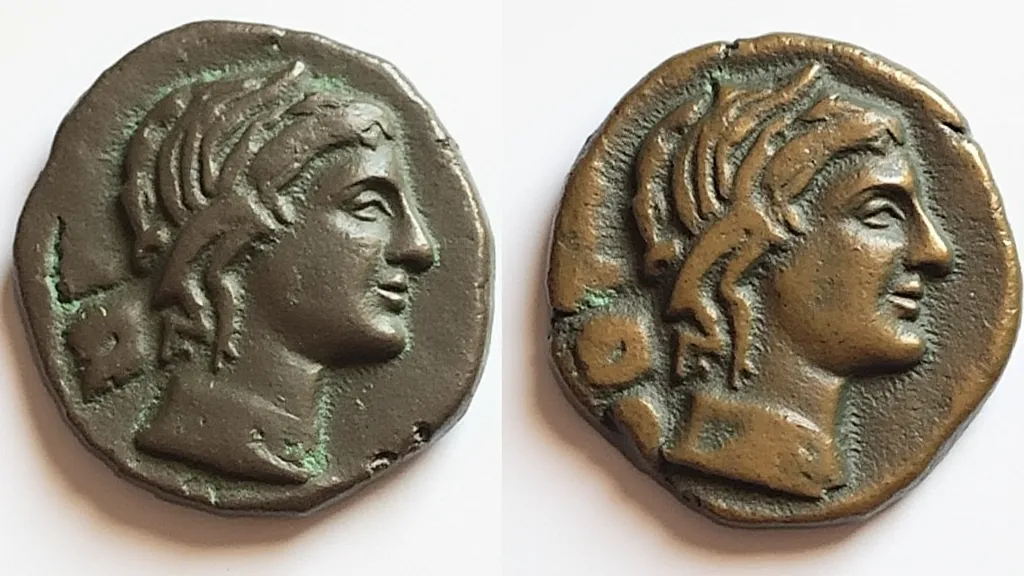
The allure of Roman coin replicas lies not only in the central imagery but also in the often-overlooked details of the border and rim. These features, far from being mere decorations, are critical components of an authentic appearance. Sloppy or inaccurate borders can betray a replica immediately. This guide will delve into the techniques necessary to recreate these often-neglected aspects of Roman coinage, adding a layer of realism to your crafting endeavors.
Understanding the Importance of Borders and Rims
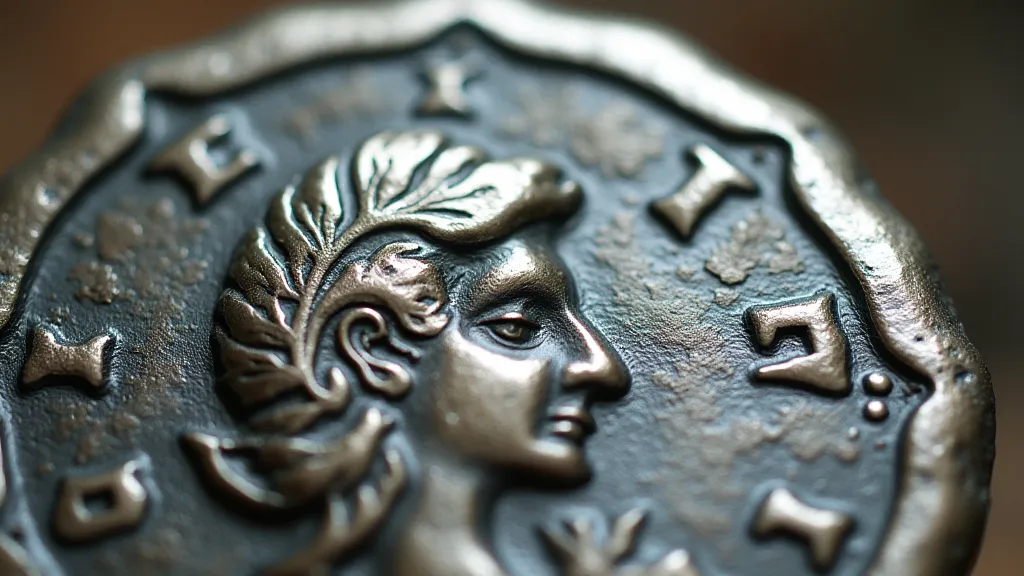
Roman coins weren't simply flat discs with images stamped onto them. The borders, sometimes plain and sometimes featuring incuse designs (depressed patterns), were created during the striking process. The rim, formed by the pressure of the dies meeting, shows evidence of this process – irregularities, flow lines, and subtle variations in thickness. These nuances, though subtle, are vital for creating a convincing replica.
Materials and Tools
Replicating borders accurately requires a slightly different approach than the main image. Here’s a checklist of essential materials and tools:
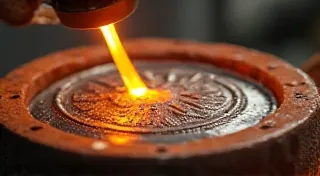
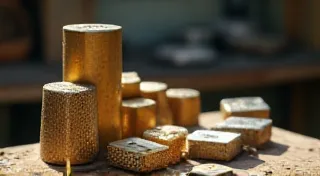
- Metal Casting Slurry: Your chosen metal – bronze, silver, or lead – in liquid form.
- Mold: A meticulously created mold that captures the coin’s overall design, including the border. Mold quality is *paramount*.
- Rimmer/Rounding Tool (Optional): A rounded tool (metal, rubber, or even a carefully shaped piece of wood) can help round the edge.
- Files & Abrasives: A selection of small, fine-grit files and abrasive papers for refining the edge.
- Magnifying Glass or Loupe: Crucial for detailed examination and correction.
Techniques for Border Replication
The approach depends on the complexity of the border. Here’s a breakdown:
1. Simple, Plain Borders
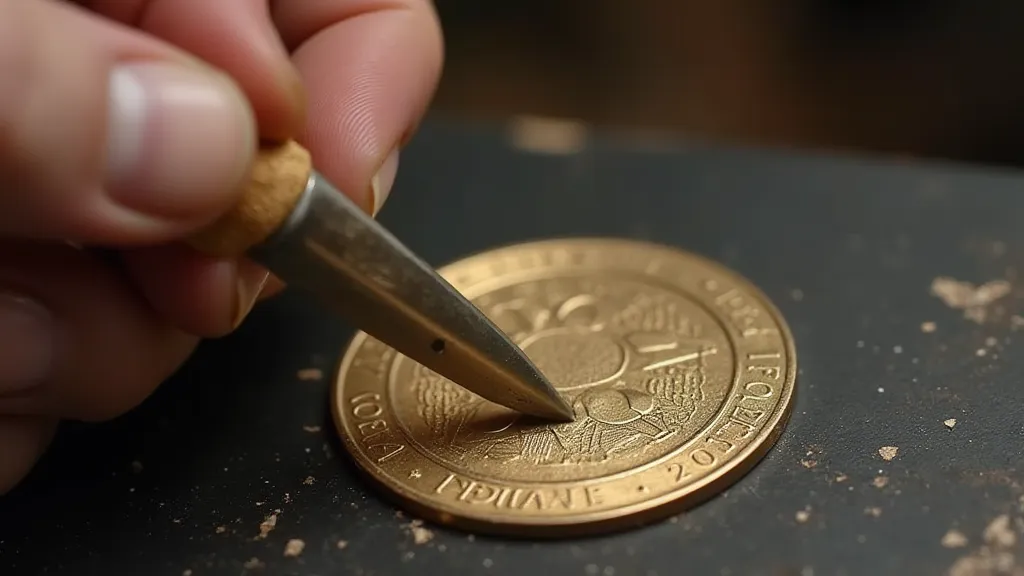
For coins with plain borders, the key is to achieve a consistent, rounded edge. Immediately after casting, while the metal is still pliable (especially important with lead), carefully round the edge using your fingers or a rounding tool. If the metal has solidified, a small file can be used to achieve this. The goal is to avoid sharp edges, but also to avoid over-rounding, which can look artificial.
2. Incuse Borders
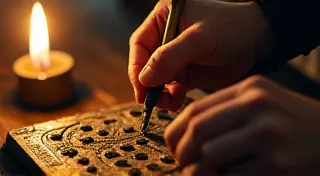
Incuse borders present a greater challenge. The mold needs to accurately capture these recessed details. Examine a reference coin *closely* to understand the depth and shape of the incuse border. If the casting is slightly deficient in this area (which can happen), gentle filing, using the reference coin as a guide, can correct it. Work slowly and deliberately; removing too much material is difficult to rectify.
3. Replicating Rim Texture
The 'flow lines' seen on authentic rims are a product of the pressure exerted by the dies. Recreating this is difficult but adds authenticity. After the casting and initial border shaping, you can *carefully* use a fine-grit file or abrasive paper to create subtle irregularities. This should be a light touch; the goal is to suggest the appearance of flow lines, not to create deep scratches. Some casters employ techniques involving brief exposure to a hot flame to alter the surface texture, but this requires significant experience and control.
Avoiding Common Pitfalls
- Over-Refinement: Resist the urge to overwork the borders. Subtle imperfections are part of the authenticity.
- Sharp Edges: A sure sign of a replica is a sharp, uniform edge.
- Lack of Variation: Authentic rims are rarely perfectly smooth or consistent.
- Insufficient Reference Material: The more closely you study genuine Roman coins, the better your replication will be.
Practice and Patience
Replicating detailed coin borders is a skill that takes time and practice to master. Don't be discouraged by initial failures. Careful observation, meticulous technique, and a healthy dose of patience will lead to progressively more accurate results. The small details matter – they separate a passable replica from a truly convincing one.