Mastering the Roman Coin Casting Process: A Beginner's Guide
The allure of ancient Rome extends far beyond history books and archaeological digs. For craft enthusiasts and history buffs alike, the possibility of recreating a tangible piece of that era – a Roman coin – is incredibly appealing. This guide offers a comprehensive introduction to the Roman coin casting process, specifically tailored for beginners. We’ll explore the essential materials, tools, techniques, and address common challenges to help you create accurate and impressive replicas.
Understanding the Challenge: Accuracy and Authenticity
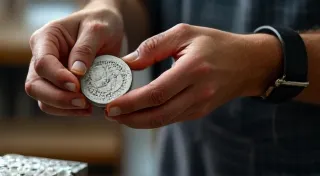
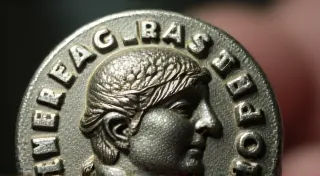
Creating convincing Roman coin replicas isn’t just about melting metal and pouring it into a mold. It's about replicating intricate details, achieving the right color and patina, and understanding the historical context of the coins you’re emulating. While perfectly mimicking centuries of wear and tear is incredibly difficult, this guide will set you on the path to creating remarkably realistic replicas.
Choosing Your Materials: Metal Matters
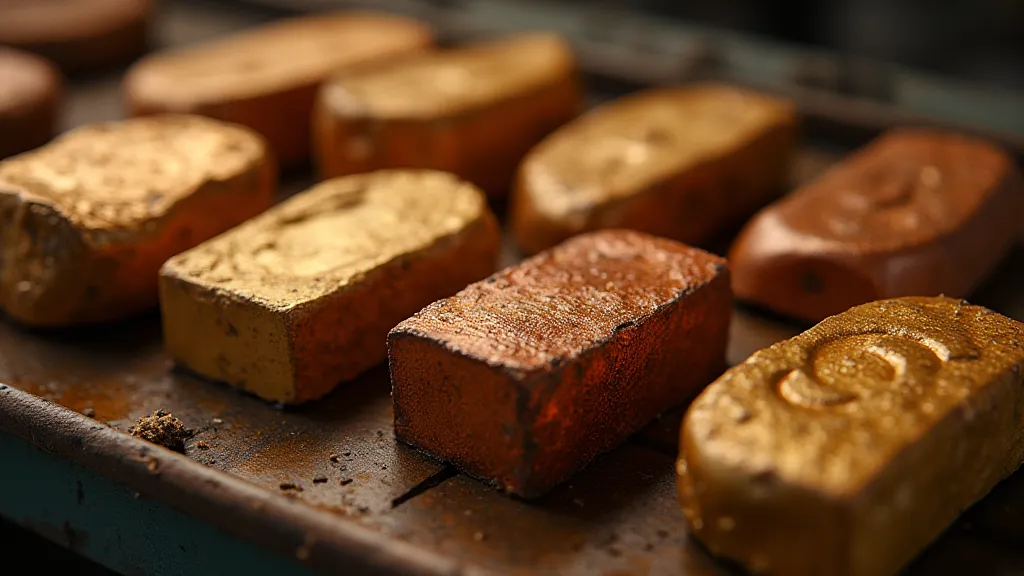
The metals used in Roman coinage varied, but the most common were brass (an alloy of copper and zinc), bronze (primarily copper with tin), and copper. Each offers a different look and casting properties.
- Brass: Provides a golden hue and generally easier to cast than some bronzes.
- Bronze: Offers a richer, darker color often associated with Roman coinage.
- Copper: A simpler material to work with, resulting in a distinctive red-orange color.
Consider starting with copper, as it’s more forgiving, then move to brass or bronze as you gain experience. The proportions of the alloys are crucial for achieving the desired color and durability. Research the specific metal composition of the Roman coins you wish to replicate.
Essential Tools for the Aspiring Roman Coin Replicator
While advanced equipment can certainly improve your results, you can start with relatively basic tools:
- Crucible: For melting the metal. Graphite crucibles are common and readily available.
- Furnace: Propane or electric furnaces are suitable for melting metal. Safety is paramount – ensure adequate ventilation.
- Tongs: For handling hot crucibles and molds.
- Mold-Making Supplies: We’re covering two main methods below, so your supplies will vary accordingly.
- Safety Gear: Crucially important! Heat-resistant gloves, safety glasses, and a respirator are essential.
Casting Techniques: Lost Wax vs. Sand Casting
Two primary methods are employed for Roman coin replication: lost wax casting and sand casting. Let's explore each:
Lost Wax Casting (Investment Casting)
This method is more complex but capable of producing highly detailed replicas.
- Wax Model Creation: You’re creating a wax "positive" of the coin. This can be done by carving, or by utilizing pre-made wax models.
- Investment: The wax model is coated in a ceramic-like investment material.
- Burnout: The wax is melted out, leaving a hollow cavity within the investment.
- Casting: Molten metal is poured into the cavity.
- Breakout: The investment is broken away, revealing the cast coin replica.
Sand Casting
Sand casting is simpler and more accessible for beginners.
- Mold Creation: Create a two-part mold using sand and a pattern (a master copy of the coin).
- Sprue and Venting: Create channels for the molten metal to flow in and air to escape.
- Casting: Pour molten metal into the mold.
- Breakout: The mold is broken away, revealing the cast coin.
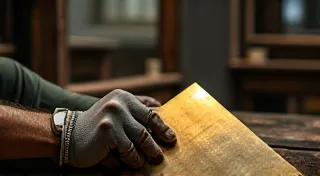
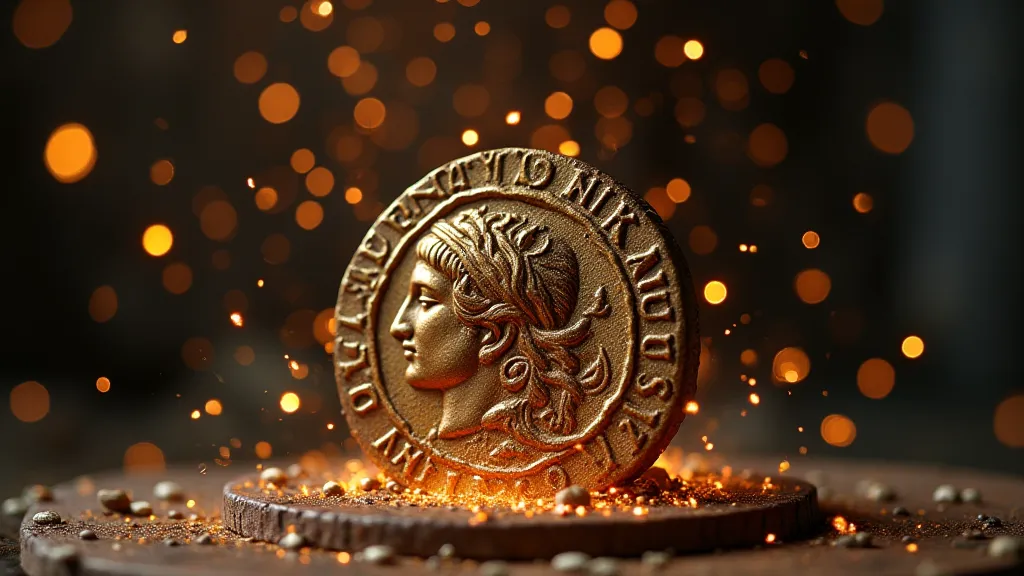
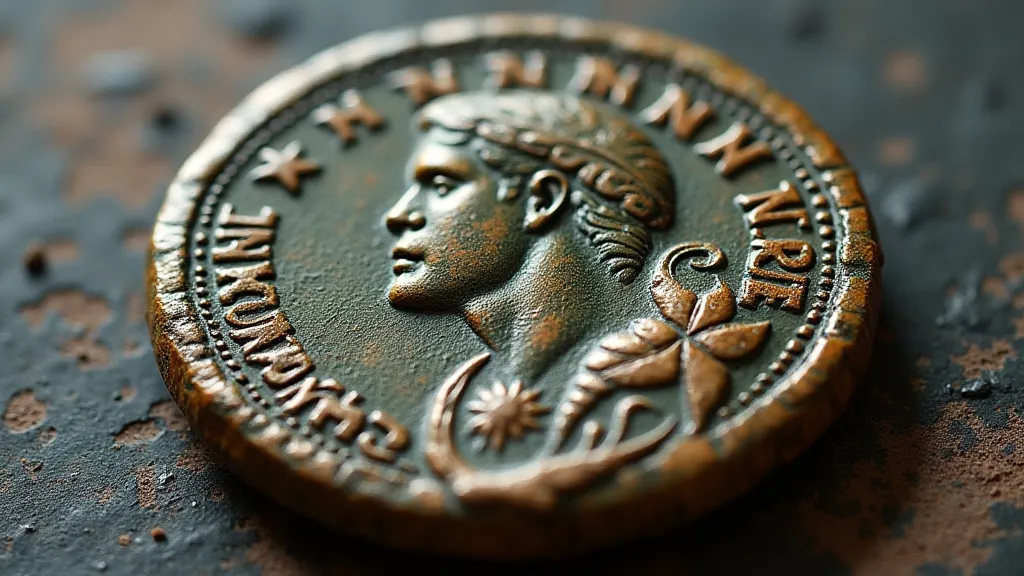
Achieving That Authentic Roman Look: Patina and Finishing
Freshly cast coins often appear too bright and new. Creating a convincing patina (a surface film) is vital for authenticity. Techniques include:
- Chemical Patination: Using diluted acids or salts to create controlled oxidation on the surface.
- Heating and Polishing: Controlled heating followed by polishing can simulate the effects of aging.
- Physical Abrasion: Simulating wear and tear through gentle abrasion.
Common Pitfalls and Tips for Improvement
- Porosity: Caused by trapped air. Ensure proper venting in your molds.
- Misruns: The metal didn't fill the entire mold cavity. Increase the pouring temperature or improve mold design.
- Surface Imperfections: Experiment with different alloys and casting temperatures.
- Practice, Practice, Practice: Each coin is a learning experience. Don't be discouraged by initial failures.
Creating Roman coin replicas is a rewarding blend of history, craft, and artistry. With patience, experimentation, and a dedication to accuracy, you can bring a piece of ancient Rome to life in your own hands.