Recreating Roman Coin Details: Die Design and Minting Techniques
The intricate details of Roman coins aren't just about the metal – they’re a testament to the skill of Roman mint workers. These weren't simple flat discs; they were miniature works of art, meticulously crafted using sophisticated techniques. This article explores the die-making process and explains how these dies were used to create the coin’s image. We’ll look at the tools used, the techniques employed to create the reliefs, and how you can recreate these details in your own replicas. Understand the nuances that separate a good replica from a truly authentic one.
The Importance of the Die
Before any coin could be struck, the die – a hardened metal tool – had to be created. Roman coins weren't stamped out like modern coins; they were the result of immense pressure applied to two dies, one positive (obverse) and one negative (reverse), using a screw press.
Creating the Obverse and Reverse Dies
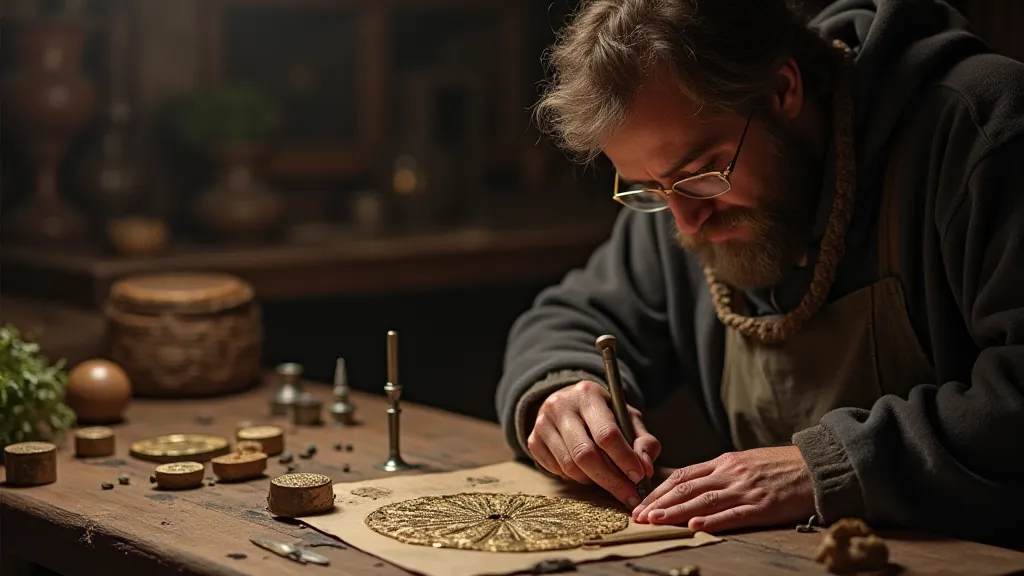
The process of creating a die was laborious and required considerable skill. Initially, a blank piece of bronze or iron was prepared. This blank was then painstakingly engraved with the desired image using a variety of tools:
- Stylus: A pointed metal tool, often made of bronze or iron, used for initial layout and detailed lines.
- Drills: For creating recesses and defining outlines.
- Files: Used to smooth surfaces and refine details.
- Hammers and Punches: Used for adding depth and relief, particularly for larger features.
The engraver worked painstakingly, transferring the design from a model or drawing onto the die blank. It's important to remember that dies were reusable, though their lifespan depended on the volume of coins produced and the quality of the metal. As a die wore down, the details would become less sharp, and it would be retired.
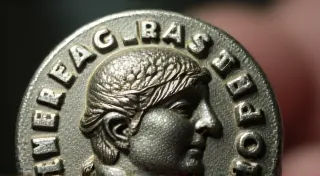
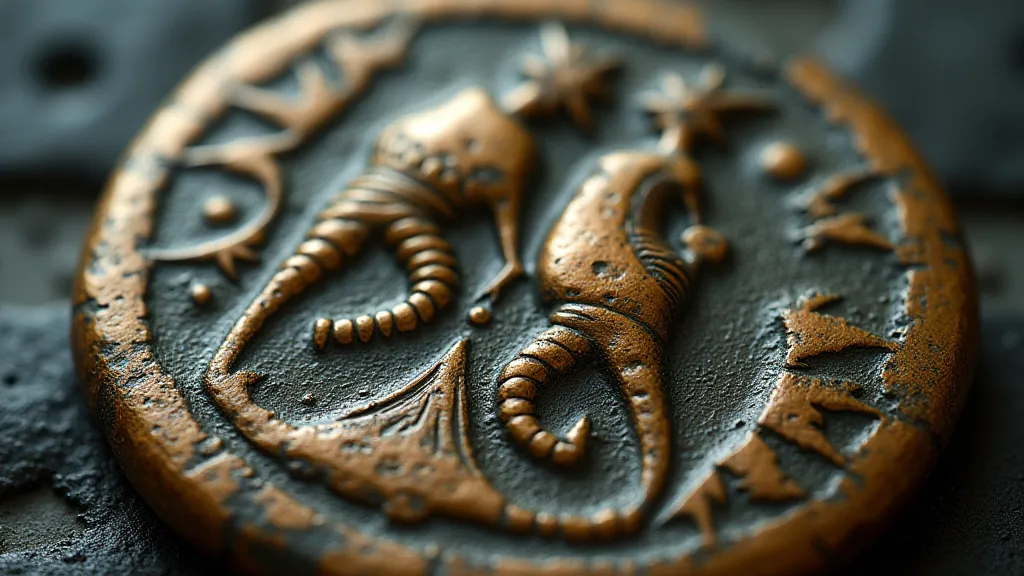
Relief and Depth: Defining Roman Coin Design
One of the defining characteristics of Roman coins is their relief – the degree to which the design elements protrude from the coin’s surface. This wasn't achieved simply by carving; Roman mint workers were masters of manipulating the metal to create incredibly detailed reliefs. The depth and clarity of these reliefs conveyed information and enhanced the coin’s aesthetic appeal.
Early Roman coins often featured relatively low relief, while later Imperial coins (particularly under rulers like Julius Caesar and Augustus) demonstrated a greater degree of detail and three-dimensionality. This improvement was the result of evolving techniques and, some scholars believe, more skilled engravers.
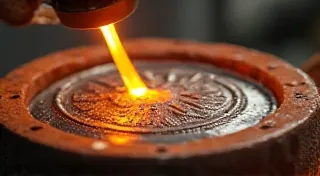
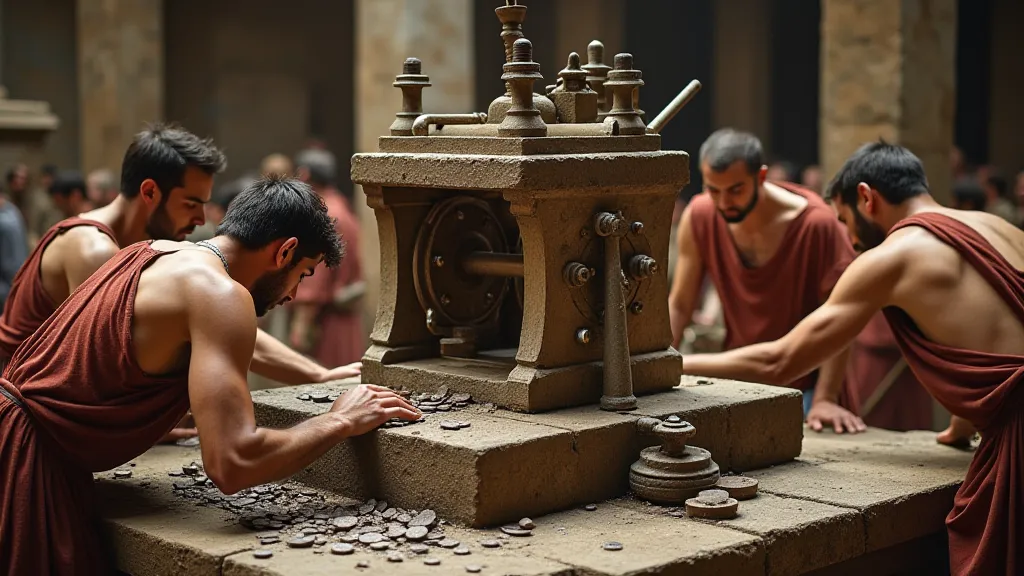
The Minting Process: From Die to Coin
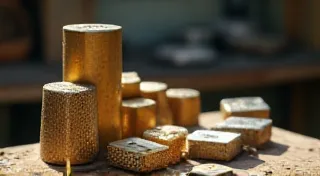
Once the dies were prepared, the minting process was straightforward but physically demanding. A small, precisely weighed piece of metal (usually bronze, silver, or gold) – the planchet – was placed between the obverse and reverse dies. A screw press, operated by several workers, was then used to apply immense pressure. This forced the metal to flow into the recessed areas of both dies, permanently transferring the designs onto the planchet. The newly struck coin was then removed and inspected.
Recreating the Details: Tips for Replica Makers
For those of us recreating Roman coins, understanding this die-making process is vital to producing authentic-looking replicas. Here are a few tips:
- Focus on Relief: Pay close attention to the relief structure. Don't just carve the design; think about how it projects from the surface.
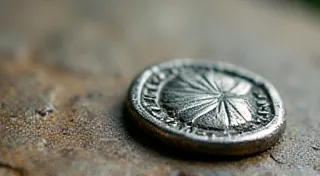
- Study Original Coins: Examine authentic Roman coins whenever possible. Note the subtle details, the wear patterns, and the nuances of the relief.
- Experiment with Techniques: Try different metal carving techniques to achieve the desired effect. Consider using a combination of engraving, chasing, and repoussé.
- Consider Metal Properties: Understand how different metals (bronze, silver, copper) behave under pressure.
By appreciating the skill and artistry of Roman mint workers, and by carefully applying these techniques, you can create Roman coin replicas that are both accurate and beautiful.