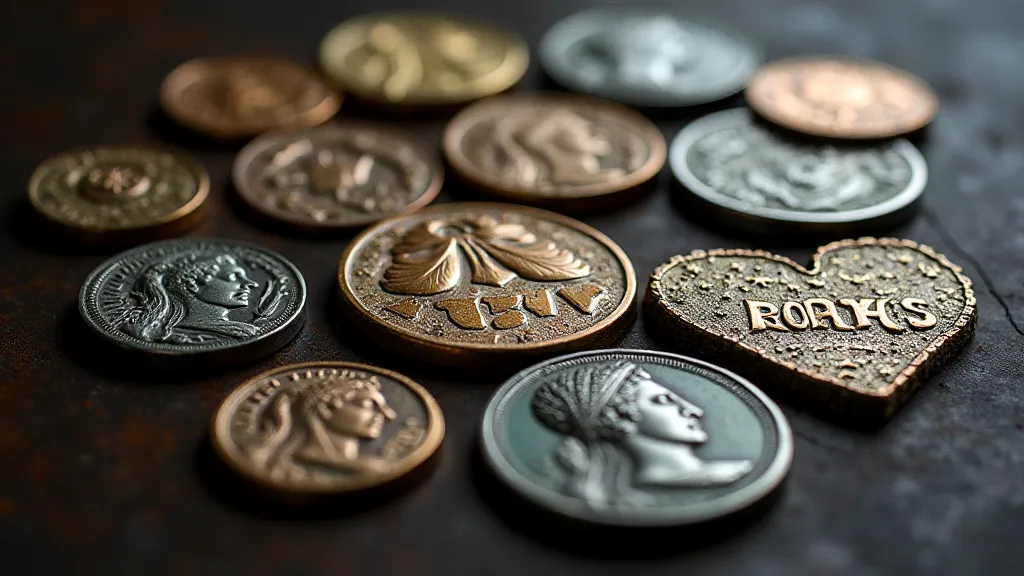
A Beginner's Guide to Roman Coin Replicas: Materials & Tools
Welcome to the exciting world of Roman coin replicas! Creating your own accurate reproductions of these fascinating artifacts is a rewarding blend of ancient history, craftsmanship, and metalworking. This guide is designed to get you started, outlining the essential materials and tools you'll need for your replica journey. Don't be intimidated – while metal casting can seem complex, starting with the basics and gradually building your skills is the key to success.
Understanding the Metals: Brass, Bronze, and Alloys
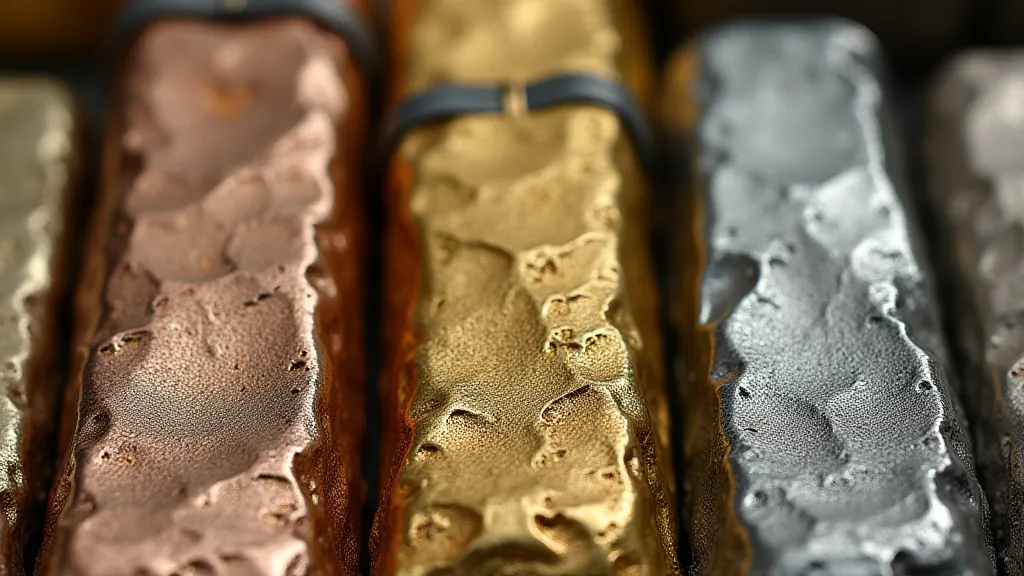
Authenticity is important for many replica enthusiasts. Roman coins weren't all made of the same metal! Knowing which alloys were used is crucial for achieving a realistic look and feel. Here's a breakdown:
- Bronze: This is an alloy of copper and tin. Early Roman coins, particularly those from the Republic, were often bronze. The exact proportions of copper and tin will affect the color and hardness.
- Brass: Brass is an alloy of copper and zinc. It’s a popular choice for modern replicas due to its easier casting properties and readily available nature. It produces a golden-yellow color, mimicking some later Roman coinage.
- Alloys (Beyond Bronze & Brass): Romans also used other alloys, including silver and electrum (a natural alloy of gold and silver). These are more advanced to work with and are better left for more experienced replica makers.
Essential Tools for Coin Replica Creation
You don't need a massive workshop to start making Roman coin replicas. Here's a list of the core tools you'll find helpful:
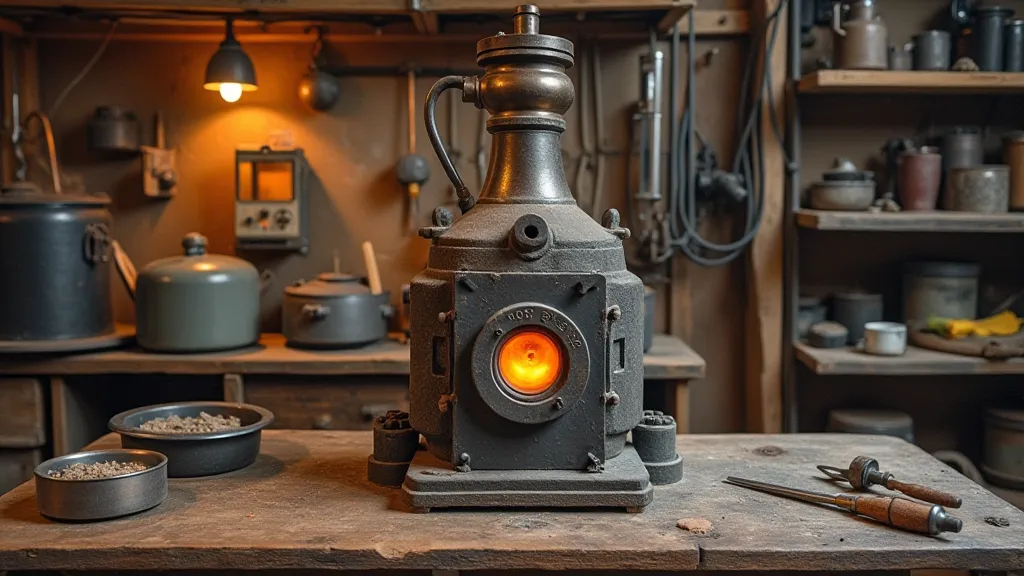
- Melting Furnace (Crucible Furnace): A small crucible furnace is necessary to melt the metal. Electric furnaces are generally easier and safer for beginners.
- Crucible: The crucible holds the metal as it melts. Choose a crucible appropriate for the size of your batches.
- Tongs: For safely handling the hot crucible.
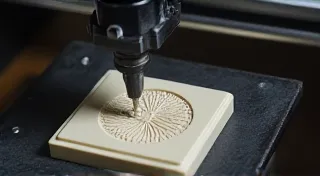
- Mold Making Materials: This is where things get interesting! Common mold-making techniques include:
- Silicone Rubber: Creates a flexible mold.
- Plaster of Paris: Used to create a rigid mold from a silicone mold (the ‘negative’ of the coin).
- Lost Wax Casting (Optional): A more advanced technique that provides very high detail.
- Cutting Tools: A jeweler's saw or rotary tool can be useful for refining edges after casting.
- Finishing Tools: Files, sandpaper (various grits), and polishing compounds are vital for achieving a professional finish.
- Safety Gear: This is critical. Always wear:
- Safety Glasses/Goggles: Protect your eyes from molten metal and fumes.
- Gloves: Heat-resistant gloves are a must.
- Respirator/Mask: Protects your lungs from metal fumes.
Getting Started: A Phased Approach
Don't feel pressured to master everything at once. Here's a suggested progression:
- Research: Study Roman coinage. Understand the different types, metals, and styles.
- Mold Making Practice: Start by experimenting with silicone rubber and plaster of Paris to create simple molds.
- Small-Scale Casting: Begin with small batches of brass to get a feel for the melting and casting process.
- Refinement: Focus on achieving a clean casting and a professional finish.
- Experimentation: Once you're comfortable with the basics, try different metals and techniques.
Resources for Further Learning
Numerous online forums and resources are dedicated to coin replication. Join a community, ask questions, and learn from experienced makers. Remember to always prioritize safety and take your time to learn the process thoroughly.
Creating Roman coin replicas is a captivating journey. Embrace the challenge, enjoy the learning process, and appreciate the rich history behind these ancient treasures!