Mastering the Lost-Wax Casting Method for Roman Coin Replicas
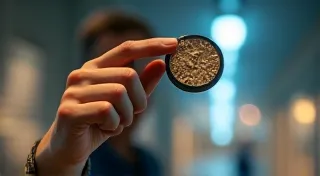
Creating accurate replicas of Roman coins is a fascinating journey into ancient history and a rewarding craft project. The original Roman coins weren't simply stamped into existence. They were largely produced using the lost-wax casting method, a complex but ultimately achievable technique. This article will guide you through each step, empowering you to recreate this ancient process and produce detailed, historically accurate coin replicas.
Understanding the Lost-Wax Process
The lost-wax casting, also known as investment casting, gets its name from the wax model that's ultimately "lost" during the process. Here's a simplified overview:
- A wax model of the coin is created.
- This wax model is coated in a ceramic slurry.
- The ceramic coating hardens, forming a shell around the wax.
- The wax is melted out, leaving a hollow cavity shaped like the coin.
- Molten metal is poured into the cavity.
- The ceramic shell is broken away, revealing the newly cast metal coin replica.
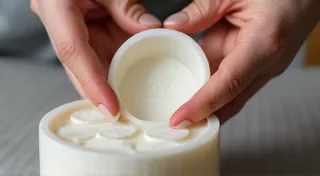
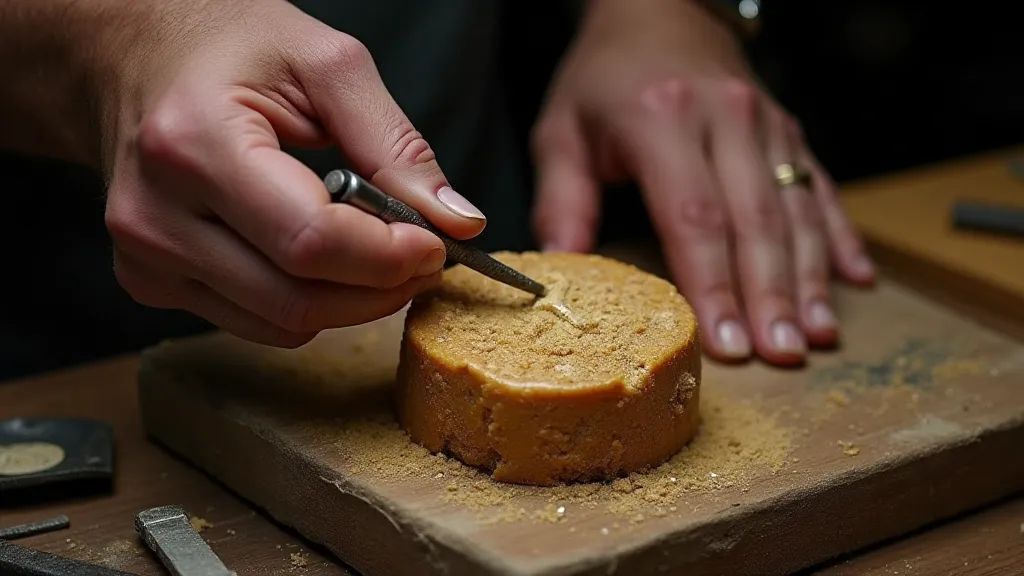
Step 1: Creating the Wax Model
The quality of your wax model directly impacts the final replica. There are a few options here:
- Carving from Wax Blocks: This requires a good eye and carving skills but allows for great control.
- Using Rubber Molds: You can create a rubber mold from an original coin (or a high-quality master pattern) and then cast wax copies. This is the most common and recommended method.
- Commercial Wax Models: While available, these can be costly and may lack the accuracy you desire.
Regardless of your method, ensure the wax model is free from blemishes, sharp edges, and any imperfections that will be replicated in the metal casting.
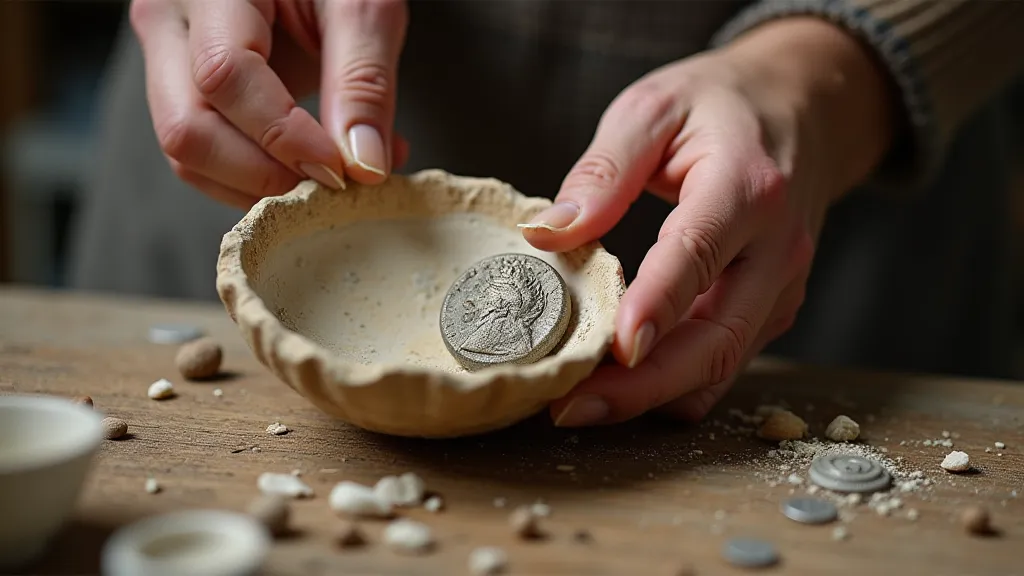
Step 2: Investing and Shell Building
Investing involves creating a ceramic shell around the wax model. This requires a special investment material – a slurry of silica, gypsum, and other binders.
- First Coat (Sprue): This is a thicker layer, creating channels (sprues) for the molten metal to flow and for gases to escape. These sprues need to be carefully designed to ensure even filling of the coin’s impression.
- Subsequent Coats: Thin, even coats are applied, allowing each layer to dry completely before the next is added. Between coats, a coarser slurry can be applied followed by a finer slurry for a smooth surface.
Proper ventilation is crucial during this process, as the slurry can release dust. Allow the shell to dry *completely* before moving on to the next step.
Step 3: Wax Removal (Burnout)
This is where the "lost wax" part of the process comes into play. The shell is heated in a kiln or furnace to melt and burn out the wax. This needs to be done slowly to prevent cracking or damage to the ceramic shell. The temperature depends on your investment and wax type but generally ranges from 150°C to 300°C. Proper venting is also vital here to remove the combustion byproducts.
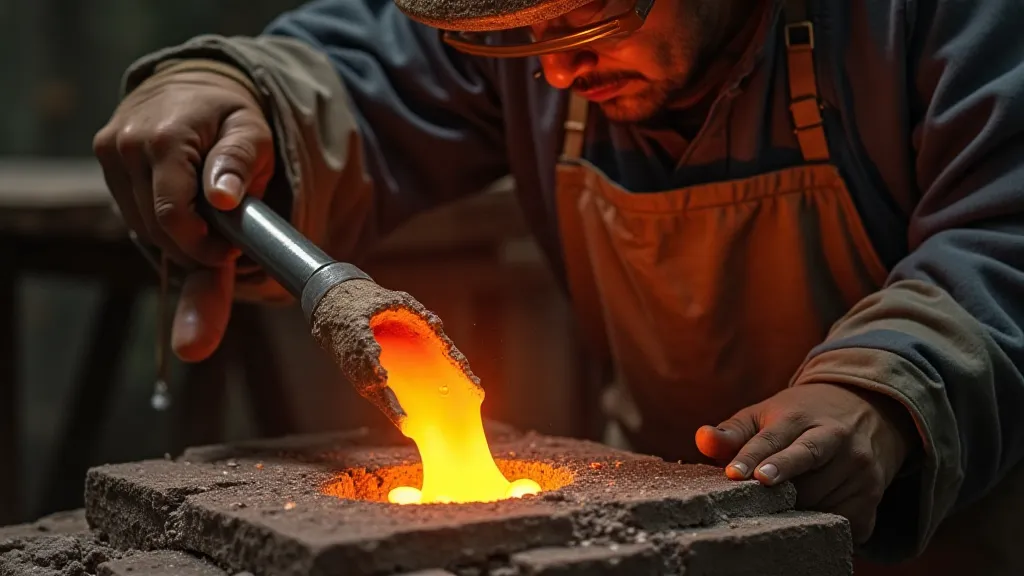
Step 4: Metal Casting
Now comes the moment of truth: pouring the molten metal. Bronze is the traditional material for Roman coins, but other alloys like pewter or brass can be used for practice or to achieve different appearances.
- Metal Selection: Research the composition of Roman bronze alloys for the most accurate results.
- Melting: Use a crucible and furnace appropriate for the metal you're using.
- Pouring: Pour the molten metal into the cavity with a steady stream, ensuring it fills all the details.
Safety precautions are paramount when working with molten metal! Wear appropriate safety gear, including gloves, eye protection, and heat-resistant clothing.
Step 5: Finishing
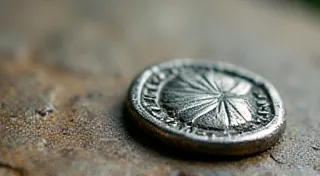
Once the metal has cooled and solidified, the ceramic shell is broken away. This can be done carefully with a hammer and chisel. Any remaining ceramic residue is removed. The replica may require some finishing work, such as cleaning, smoothing sharp edges, and applying a patina to simulate age and wear.
Tips and Troubleshooting
- Air Bubbles: These are a common issue. Proper sprue design and a slow, steady pour can minimize them.
- Cracking: This can be caused by uneven heating, rapid cooling, or improper burnout.
- Incomplete Fill: This is often due to insufficient metal, a blocked sprue, or air entrapment.
- Accuracy: Start with a perfect wax model - that's half the battle!
Mastering the lost-wax casting method for Roman coin replicas takes practice and patience. But the reward is a tangible connection to the ancient world and a beautiful, historically accurate artifact you created yourself!