Detailed Analysis: Denarius Coin Replica – A Step-by-Step Guide
The Roman Denarius. A cornerstone of the ancient economy, a canvas for imperial propaganda, and a fascinating subject for modern-day replica crafting. This guide offers a detailed, step-by-step approach to creating an accurate Denarius coin replica, perfect for historians, craft enthusiasts, and anyone interested in ancient history. We're aiming for accuracy, so we’ll cover dimensions, design elements, and essential techniques for successful metal casting.
Understanding the Denarius
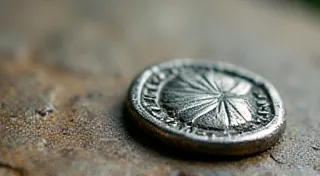
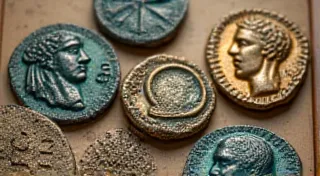
Before we begin the crafting process, it's crucial to understand what we're replicating. The Denarius (plural: Denarii) was a fundamental silver coin of ancient Rome, in use from 211 BC to the decline of the Roman Empire. Its weight, composition, and design varied across different emperors and periods. We will focus on a common example, the silver denarius of Emperor Trajan, circa 100 AD.
Materials and Tools Required
- Metal: Sterling silver (925) is ideal for a high-quality replica. Alternatively, a bronze alloy can be used for a more affordable, though less accurate, representation.
- Mold-Making Supplies: Silicone rubber, plaster of Paris, release agent.
- Casting Equipment: Crucible, furnace (or propane torch and investment), casting sand (if using sand casting), or centrifugal casting machine (optional).
- Tools: Calipers, files, polishing compounds, safety glasses, gloves.
Step 1: Research & Dimension Gathering
Accuracy begins with thorough research. Acquire high-resolution images of authentic Trajan Denarii. Carefully measure the diameter (approximately 18-20mm), thickness (around 2-3mm), and weight (around 3.4 grams). Document any relief details, including the obverse (front) portrait of Trajan and the reverse design featuring a personification of Dacia (Roman province). Utilize calipers to accurately note these measurements. Small deviations can impact the overall appearance.

Step 2: Mold Creation
We will utilize the lost-wax casting method. First, create a positive model of the Denarius. This can be achieved by carving wax, sculpting clay, or, more simply, 3D printing. Once the positive is complete, create a master mold using silicone rubber. The silicone mold will then be used to create wax positives (the 'lost wax'). A crucial step is ensuring the mold captures every detail of the original coin’s design.
Step 3: Wax Positive Creation and Investing
Using the silicone mold, create multiple wax positives of the Denarius. These wax copies are then encased in investment material – a special plaster that burns out the wax during the casting process. The investment is allowed to harden, creating a mold cavity perfectly shaped like the Denarius.
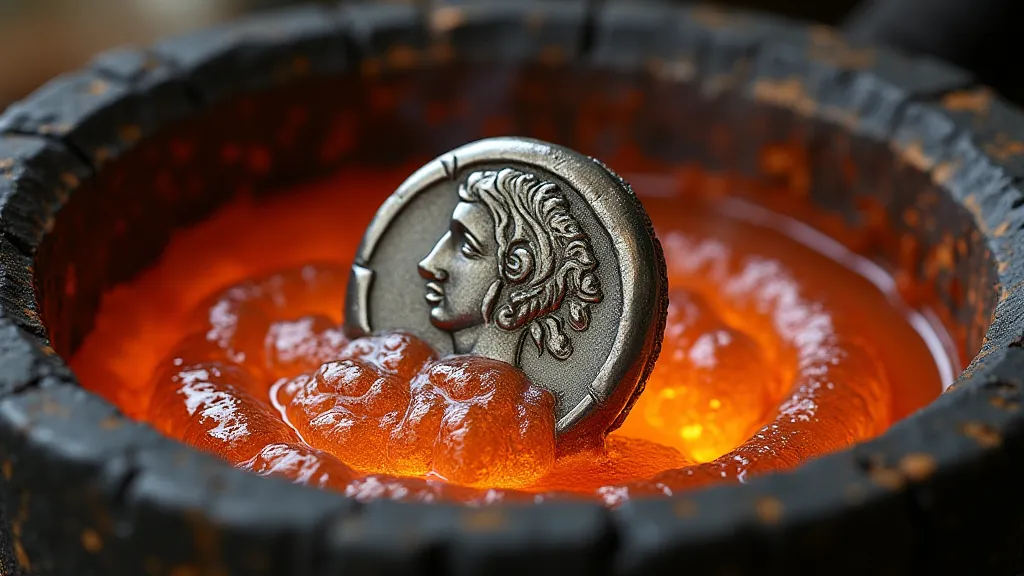
Step 4: Metal Melting and Casting
Carefully melt the silver (or bronze alloy) to the appropriate temperature. This temperature depends on the alloy composition and chosen casting method. Pour the molten metal into the investment mold. Allow the metal to cool and solidify. This is a critical stage; improper temperature or pouring technique can result in flaws in the casting.
Step 5: Burnout and Casting
Heat the investment mold in a kiln to burn out the wax and completely harden the casting. This process releases the replica from the investment.
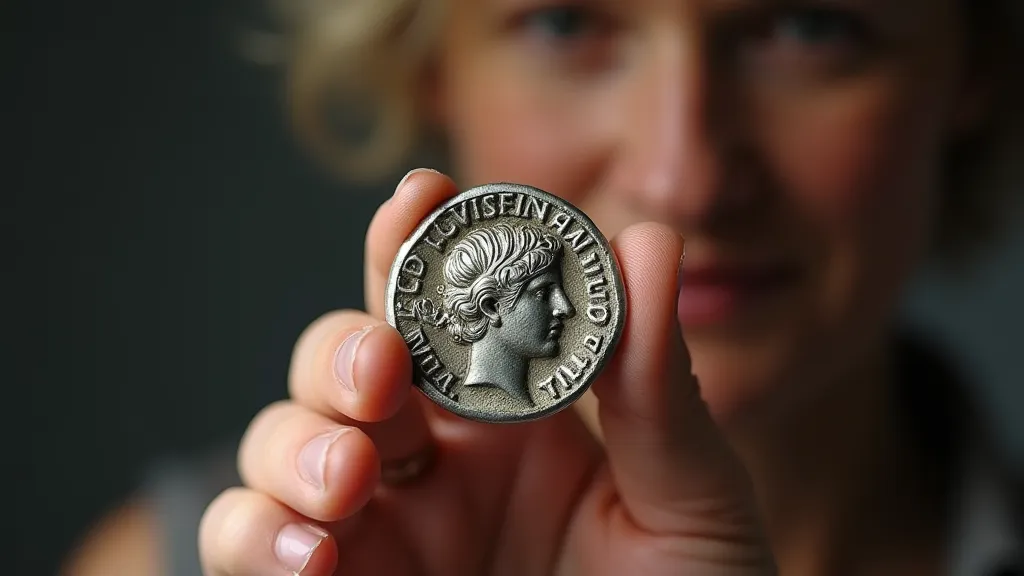
Step 6: Cleanup and Finishing
Carefully break away the remaining investment material from the newly cast Denarius replica. Use files and abrasives to remove any imperfections and smooth the edges. Begin the polishing process, using progressively finer polishing compounds until the silver (or bronze) shines. A final inspection under magnification is recommended to identify and correct any remaining flaws. This process requires patience and attention to detail.
Tips for Success
- Ventilation: Ensure proper ventilation when melting metals.
- Safety Gear: Always wear safety glasses, gloves, and appropriate clothing.
- Practice: Metal casting requires practice. Start with simpler projects before attempting a detailed replica.
- Research Authentic Examples: Consult multiple sources to ensure accuracy in dimensions and design details.
- Temperature Control: Accurate metal melting temperature is important.
Creating a Denarius coin replica is a rewarding experience, blending historical appreciation with practical crafting skills. With careful planning, meticulous execution, and a commitment to accuracy, you can create a beautiful and historically accurate piece.