Mastering the Lost Wax Casting Method for Roman Coins
Creating accurate Roman coin replicas is a rewarding journey into ancient history and a fascinating craft. While various methods exist, the lost wax casting (also known as cire perdue) process offers a level of detail and authenticity that truly captures the spirit of Roman coinage. This tutorial will guide you through the intricate steps of lost wax casting, enabling you to produce high-quality coin replicas.
Understanding the History
The lost wax casting method isn't just a crafting technique; it's a historical connection. Roman artisans utilized this process extensively to create coins, statues, and other metalwork. By using this technique, you’re not just making a replica; you're participating in a tradition spanning centuries. Understanding this history can deepen your appreciation for the craft and inspire greater accuracy in your replicas.
Materials You'll Need
- Wax: A workable wax, such as jeweler's wax or microcrystalline wax.
- Investment Powder: This creates the mold.
- Water: For mixing the investment.
- Crucible: A heat-resistant container for melting the metal.
- Metal: Bronze, brass, or a similar alloy commonly used for Roman coins.
- Kiln or Torch: To melt the metal.
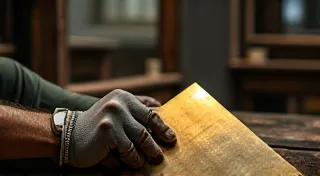
- Tools: Carving tools, brushes, gloves, safety glasses.
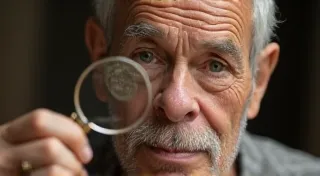
- Original Coin (or high-quality image): For reference and pattern making.
Step-by-Step Guide to Lost Wax Casting
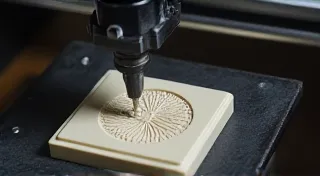
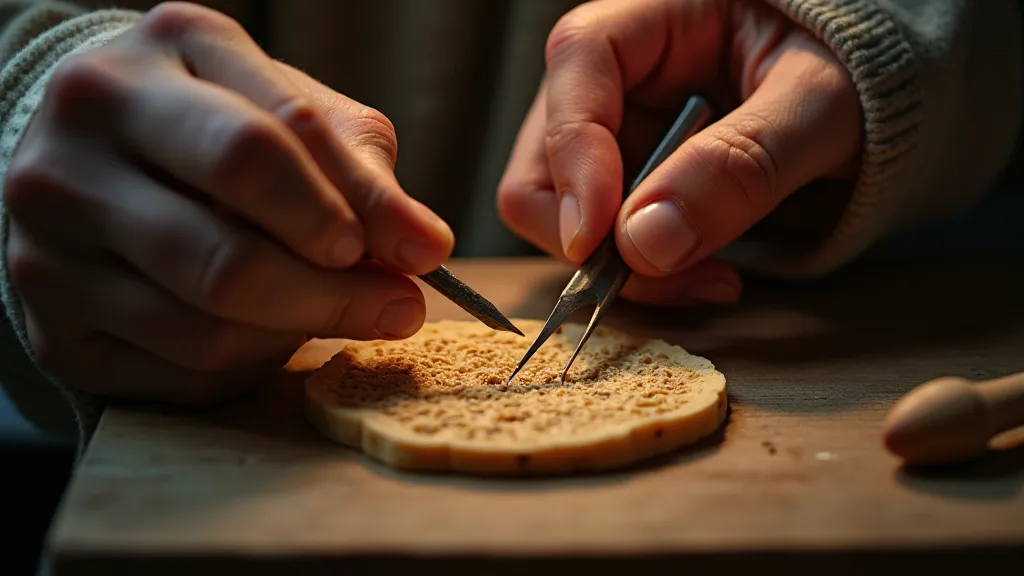
1. Creating the Wax Pattern
This is arguably the most crucial step. You need an accurate wax pattern of your Roman coin replica. You can either carve the pattern directly from a block of wax, or create a two-part mold from the original coin and then cast the wax in that mold. Accuracy here will directly influence the final result. Pay close attention to the details – the lettering, the imagery, the coin’s thickness. Small imperfections in the wax pattern will translate into imperfections in the final coin.
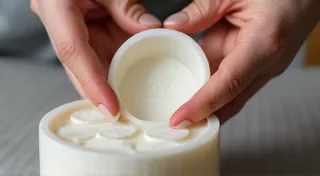
2. Investing the Wax
Next, you's need to create the investment mold around the wax pattern. This involves mixing the investment powder with water according to the manufacturer's instructions. Slowly pour the investment mixture around the wax pattern, ensuring all crevices and details are completely covered. Vibrating the investment helps eliminate air bubbles and ensures a tight-fitting mold.
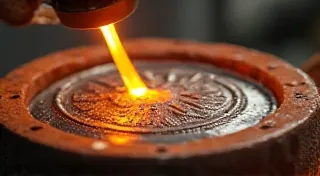
3. Burning Out the Wax
Once the investment mold has hardened (usually after several hours), it’s time to burn out the wax. This is done by placing the mold in a kiln or using a torch. The heat melts the wax, leaving a hollow cavity in the shape of the coin. This process needs to be done slowly and with care, as rapid temperature changes can crack the investment.
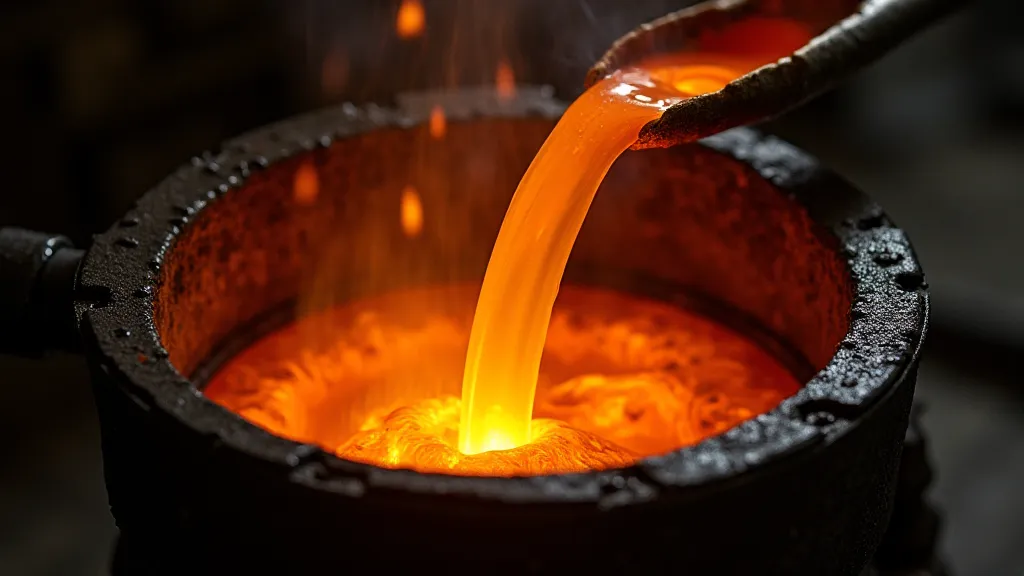
4. Melting and Pouring the Metal
With the wax completely burned out, the mold is ready for the metal. Melt your chosen metal alloy in a crucible using a kiln or torch. Ensure the metal is at the correct pouring temperature, as this will affect the quality of the casting. Carefully pour the molten metal into the investment mold, filling the cavity created by the lost wax.
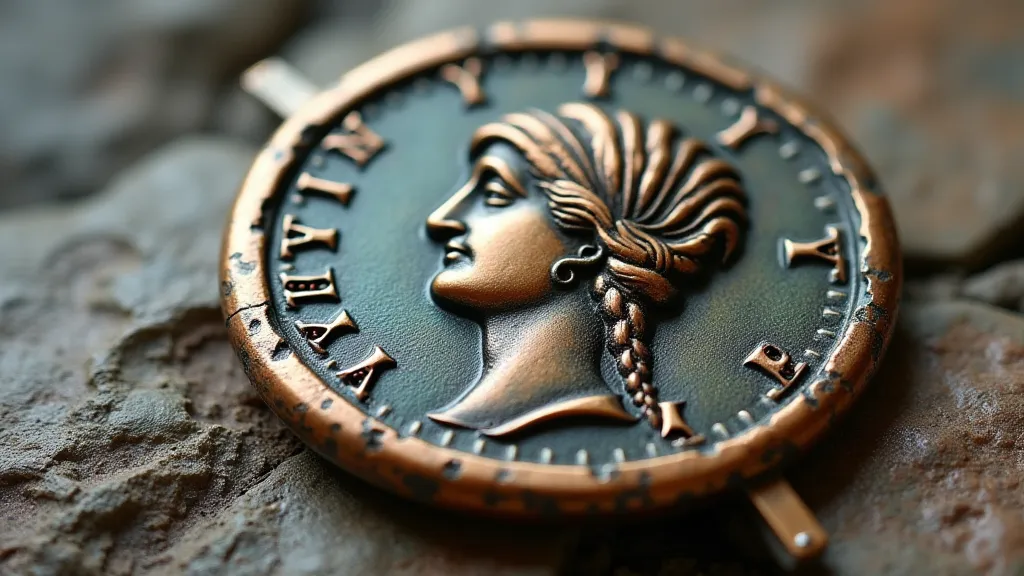
5. Knockout and Finishing
After the metal has cooled and solidified, the investment mold must be broken away. This process, known as knockout, can be messy, but it’s essential to reveal the finished coin replica. Once the investment is removed, you'll likely need to clean the coin, removing any remaining residue and sprues (channels used for pouring). Further finishing, such as polishing, can enhance the coin's appearance.
Troubleshooting & Tips
- Porosity: If your coin has small bubbles or imperfections, it could be due to air trapped in the metal during pouring. Try pouring more slowly and ensuring the metal is degassed.
- Poor Detail: This is often related to the wax pattern. Double-check your pattern for accuracy and ensure the investment fully captures all details.
- Cracked Mold: Rapid temperature changes during burnout or pouring can crack the investment. Control temperatures carefully.
- Safety First: Always wear appropriate safety gear – gloves, safety glasses – when working with molten metal and chemicals. Work in a well-ventilated area.
Conclusion
Mastering the lost wax casting method for Roman coin replicas is a challenging but rewarding journey. By understanding the steps involved and taking the time to refine your technique, you can create stunning replicas that capture the beauty and historical significance of Roman coinage. Practice and patience are key. Good luck and happy casting!